
Need Help? Ask anything on live chat
Setting up your HP printer can feel both exciting and a bit overwhelming. Whether you’re new to printer ownership or you have experience with other models, this clear and detailed guide will simplify the setup process. You’ll learn how to unbox your printer, install ink cartridges, load paper, and install the necessary drivers. By following these steps, you’ll be ready to enjoy the convenience and efficiency that comes with your new HP printer.
Unboxing Your HP Printer
Unboxing your printer is the first step in the setup journey. Carefully take the printer out of its box and remove all packing materials.
Don’t forget to check for loose accessories, such as:
- Power cords
- USB cables
- Manuals
After removing everything, properly dispose of the packaging to clear your space. Place the printer on a stable surface where you can easily access it. If you’re tight on space, make sure you can load paper and see the printer indicators easily.
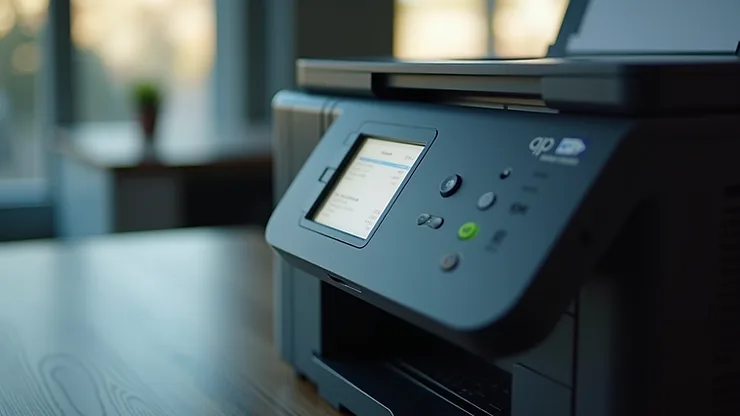
Installing Cartridges
After unboxing, it’s time to install the ink cartridges. This process is crucial for achieving quality prints. Here’s how to do it:
- Open the printer: Lift the printer lid to access the cartridge compartment.
- Prepare the cartridges: Carefully take the cartridges out of their packaging and remove any protective plastic or tape.
- Insert the cartridges: Place the color and black cartridges in their designated slots. You should hear a click when they are securely in place.
By ensuring your cartridges are properly installed, you’ll help maintain smooth and consistent printing.
Loading Paper
Now that the cartridges are in, let’s move on to loading paper, which is essential for getting your first print job done. Follow these steps:
- Open the paper tray: Locate the input tray, usually at the bottom of the printer, and gently pull it out.
- Adjust the paper guides: Ensure the width guides are set to fit the size of the paper you plan to use.
- Load the paper: Place a stack of paper into the tray, making sure the printable side is facing down.
- Close the tray: Push the paper tray back in until you hear it click.
With the paper loaded, you’re nearly ready to start printing!
Installing HP Printer Drivers
The final setup step is installing drivers, which help your computer communicate with the printer. Here’s how to do it:
- Visit the HP website: Go to 123.hp.com/setup to locate the correct drivers for your specific HP printer model.
- Download the drivers: Select your printer model, and follow the prompts to download the appropriate drivers for your operating system.
- Install the drivers: Open the downloaded file and follow the on-screen instructions to complete the installation.
- Connect your printer: After installing, connect the printer to your computer via USB or Wi-Fi, depending on your preference.
Completing this installation means you’ll have full access to all printer features!
Testing Your Printer
After the driver installation, it’s time for a quick test to ensure everything is functioning properly.
Print a test page or document to verify that your printer is ready for action. If the test print is successful, congratulations! Your HP printer is now set up and ready to use.
If any issues arise during testing, refer to the troubleshooting section in the user manual, or search the HP support page for solutions.
Troubleshooting Common Issues
During your setup, you might run into some common problems. Here are a few handy troubleshooting tips:
- Printer not detected: Ensure your printer is powered on and connected to the same network as your computer if you are using Wi-Fi.
- Error messages: Check the printer display for error messages, and consult the manual for guidance.
- Paper jams: If paper jams happen, carefully open the printer and remove any jammed paper, following the instructions from the user manual.
These tips can help enhance your experience and quickly solve any minor issues.
Ready to Print!
Setting up your HP printer is straightforward when you break it down into simple steps.
From unboxing and installing cartridges to loading paper and setting up drivers, each phase plays an important role.
By following this guide, you’ll navigate the setup hassle-free and unlock the full functionality of your HP printer.
Should you encounter unexpected issues or need assistance, check the HP support page or use the user manual for additional help!
With your printer set up, you’re ready to explore a wide range of printing, scanning, and copying tasks. Enjoy your printing experience!